Duct Tape wallets are not a new thing now and have commonly been prepared at home, most of girls and boys camps also teach such a DIY duct tape crafts to wake up the inner creative person in them. Some of clever thoughts about duct tape can make you get with such a nice stuff that you will love it. Duct tape is an adhesive tape having strip form and is very common, almost every home have it for quick and instant fixing of households and many other things.
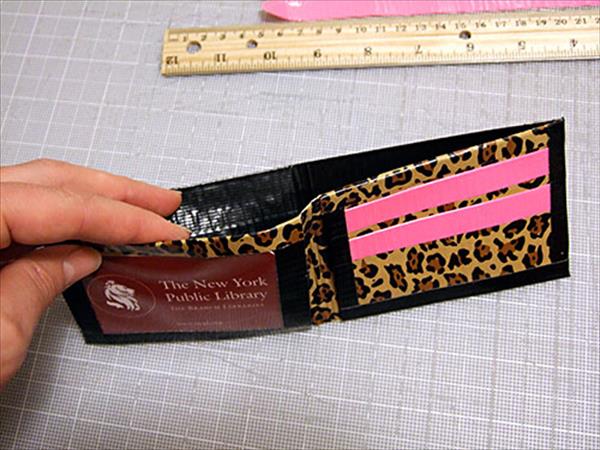
In contemporary life duct tape is going on a great crafting trend and peoples are preparing tons of useful and decorative crafts out of them. We have also crafted an arresting design of duct tape wallet which would be great friend of your pocket and will secure you dollar bills, credit cards and other documentations very beautifully.
Make sure if the dimensions of the this wallet are according to size of your jeans pocket or not, if not trimmed it to according size. This will be one of the cheapest and durable plan to have a funky wallet with your own hands at home..
Material:
- Duct Tape (we have selected the black, pink and cheetah print)
- Ruler
- Scissor
- Craft Knife
- Plastic pieces for ID Slot
- A plane Working Space
- A Card
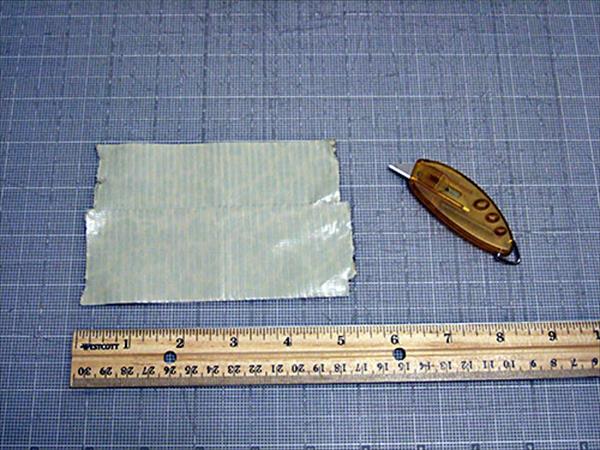
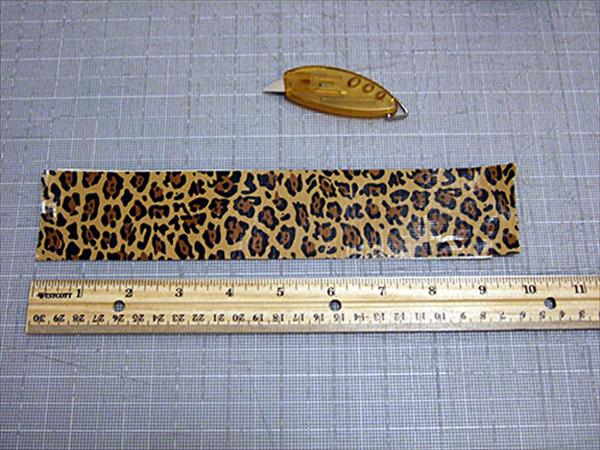
Take the cheetah print of the duct tape and make a sheet of it by releasing 3 to 4 strips of it. Then overlap the black duct tape sheet on it which has also been prepared in the same way. This will provide some thickness to avoid undesired molding and creases.
You can also add the plastic paper at the mid for more smooth and plane touch at the inside of your wallet. If you want to have a little bit more thickness then make it overlapped again with any print you have.
Now place the ruler on the sheet which have metal edges and cut a 4 to 5 inches (this will matter according to size of your pockets) strip from the sheet using sharp edged craft knife.
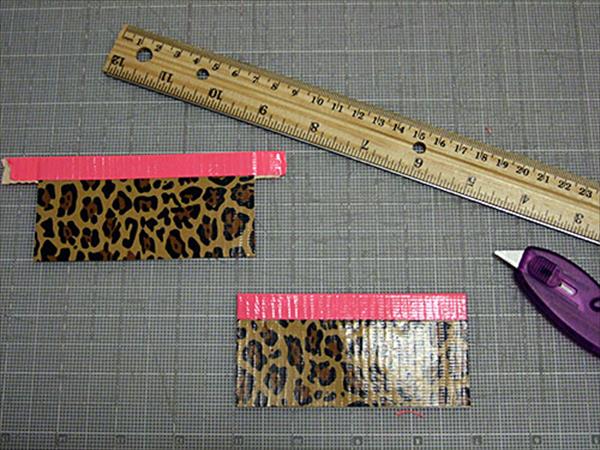
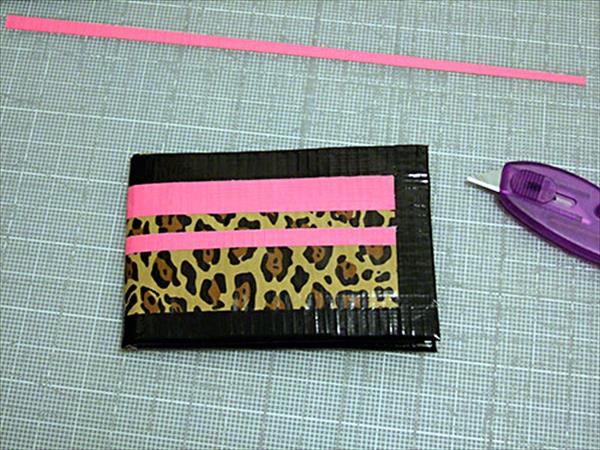
Rip some thin strips from the pink duct tape print and make the overlapped on the top of both pieces, these will provide you the necessary pockets for your wallet. Fold the increased lengths a little bit and trim the excess.
Now get both pockets on each other evenly and you have prepared a one side portion of slots for your wallet.
Now its time to prepare the left side ID window portion for our wallet, for this purpose we have used a plastic piece folded into enclosed shape. We have made it just according to size of that previously prepared pockets to get the precision which is the high demand in all DIY duct tape ideas. We secured the both slots with black duct tape borders, trimmed in nice way.
Place you pockets and main ID window on the main sheet in the opposite direction and fix them with packing tape with all the way across the boundary leaving the opening sides. Boundary through duct tape should be smooth and clean and pocket should be tightly held which is main demand of a chic DIY duct tape wallet.
Now fold the the half panel of the duct tape main sheet and start adding the border with black duct tape print by lining up both edges of the main sheet, id window and pockets. Border gives a nice trimmed fixing of all the material inside along with an appreciated finish.
Finish off the border by lining up cleanly and trim the excess of edges and you are just done to a nice look of wallet which you have prepared with your own hands at home. Is it not a great DIY duct tape projects? if yes then add it to you to-do list and enjoy the lovely DIY duct tape crafting in leisure time.







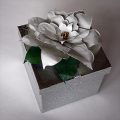
 Duct Tape Accessories Box