Duct tape crafts are just not limited to home decors and kid’s stuff, you can really do some artful works this magical duct tape adhesive. Is it not a cool through to craft a DIY hammock out of this sticky adhesive? If you really well come this appreciated through then we are here just to provide you a complete guide and instructions about how you can get a perfect swinging hammock out of duct tape instead of wool or fabric threads.
This fancy looking crafts will make your summer afternoons great and comfy. If you are a loving mother then you can cuddle your babies on it while in a mode to get relaxed. This DIY duct tape hammock tutorial just addresses to a perfect possible craft that can add vibrancy to any living space especially the tree shaded outdoors. The supply material is just simple, cheap and highly accessible. Add it in your to-do list of DIY duct tape ideas and do give a try to it whenever you would have a free time.
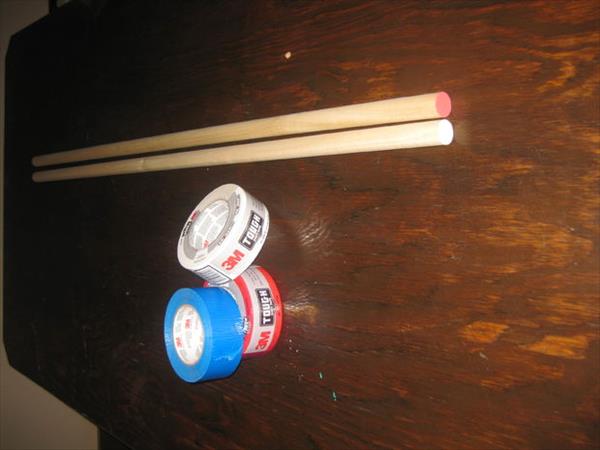
Material:
- 3 Rolls of Duct tapes (colors are optional)
- 2 Oversize Wooden Dowel Sticks
- Rope
- Permanent Maker
- Scissor
- A working Place
As you know that duct tapes are really adhesive and sticky you just get instructions before you start of this hammock pattern. Always release the duct tape with your fore finger tips to avoid it not to mess up with your hands.
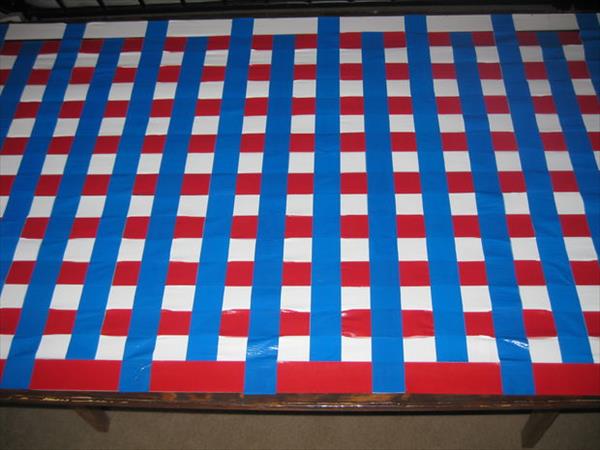
To avoid the creases choose a perfect plan working place just like this wooden table. Planes surfaces truly give the precise and equal edged duct tape products as you find the cutting and sticking easy on such smooth surfaces.

First we have to made the long loops of duct tape for further weaving. To fix up the dowels at a distance equal to our required length of hammock, we settled some wooden supports on table ends to hold tightly the dowels.
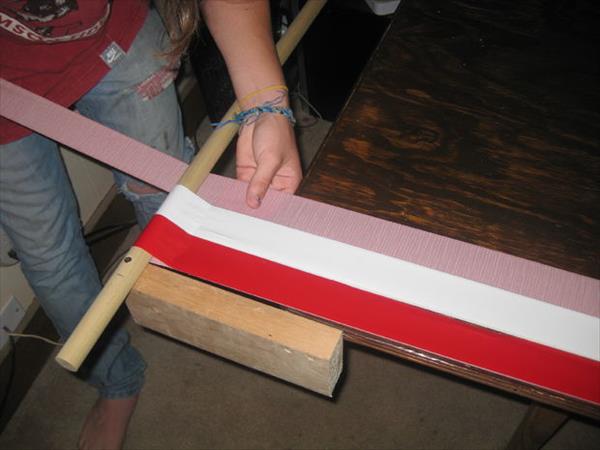
Then we just made some long loops of duct tape using 3 colored rolls of duct tape until it reached the desired value. Just remove the trapped air bubbles to avoid the uneven edges and creases. A little amount of pressure at the back side will be a great idea to get a bubble free pattern.
Don’t leave any spacing between the loops and also don’t make them overlapped or touched. Just go precisely in this step to manage all loops side by side. A little bit tightness in the duct tape loops will be appreciated.
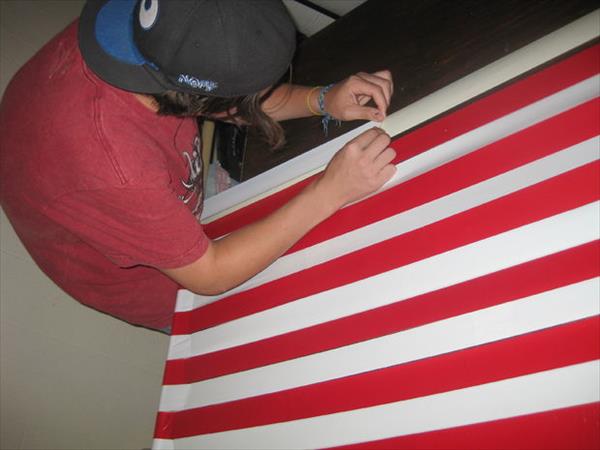
Now next step is the weaving of it with more duct tape loops. This may be tricky a little bit but you can mark the places to start or end a loop accordingly. Measure the length and count for a loops required to fill up the whole area with equal in between spacing for a charming weaving.
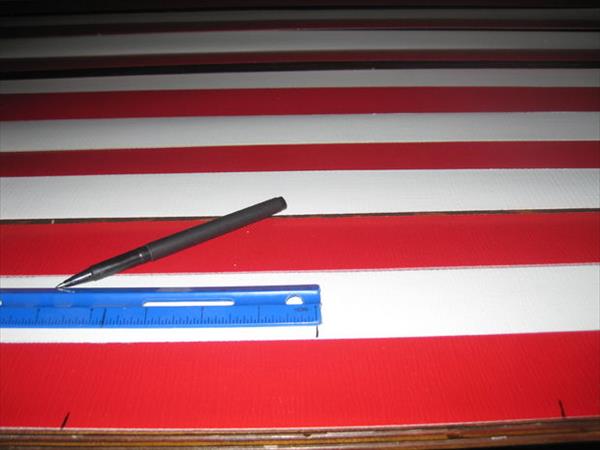
Now you can start weaving to add more thickness and strength to your duct tape hammock pattern along with a chic patterned appearance. You can make use of a ruler throughout the weaving process for exact spacing and to make the loops plane.
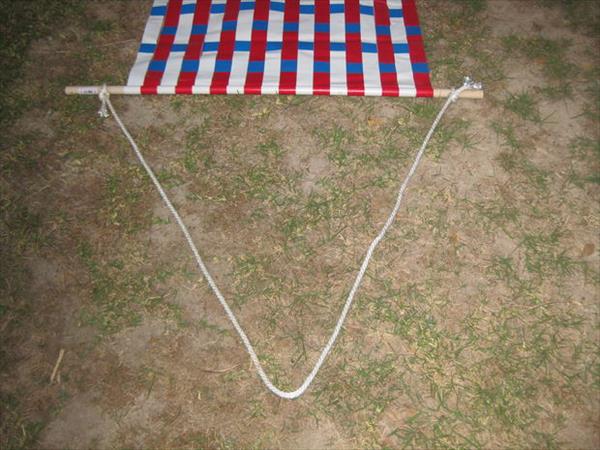
Once you finished off the weaving, add the ending hanging supports. We have used the rope loops for fastening purposes. Rope should be thick and heavy duty for a perfect hanging.
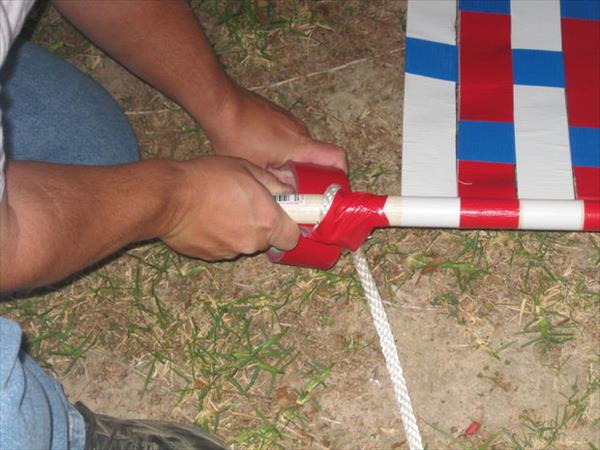
Knot the rope ends to the dowels be leaving some edges out and wrap the knots with duct tape to avoid falling off. Add multiple knots for lasting grip which is will truly the most important part of this whole DIY duct tape makeover.

After getting the satisfying hanging support make it hanged at outdoor, the place under the shade of trees will be truly fantastic. Just enjoy the lovely outdoor sleep to pass a great lazy afternoon summer time.


 DIY Tutorial: Duct Tape Flower Wreath